
Run tests
Select tests and environments, inspect launch plans, and keep feedback quick.
While building a feature, run its test on one node. Expand to the rest of your suite and loader matrix after the focused case works. A node identifies one Minecraft-and-loader combination; it is the environment the tests run in.
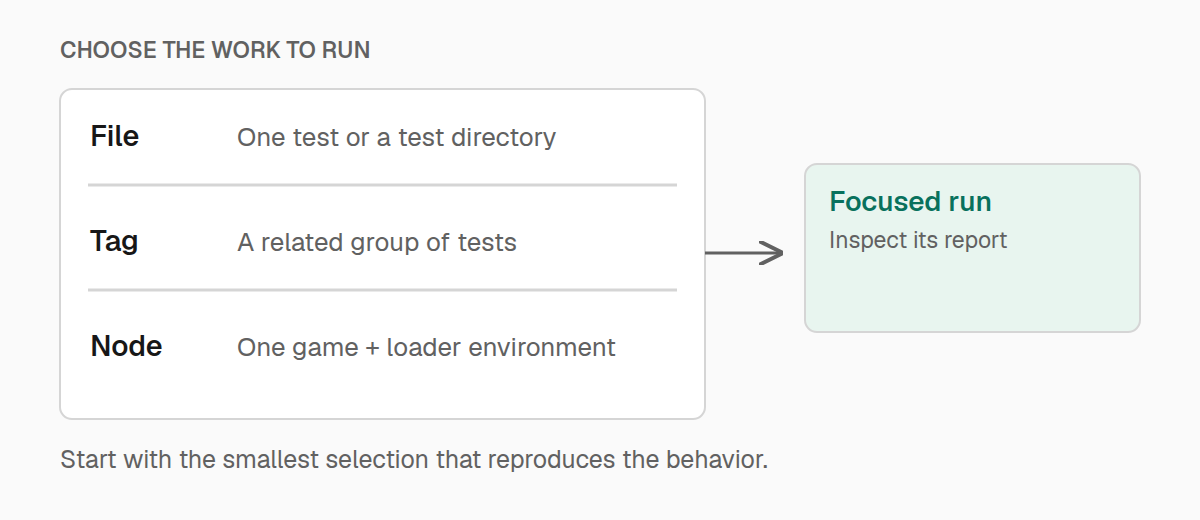
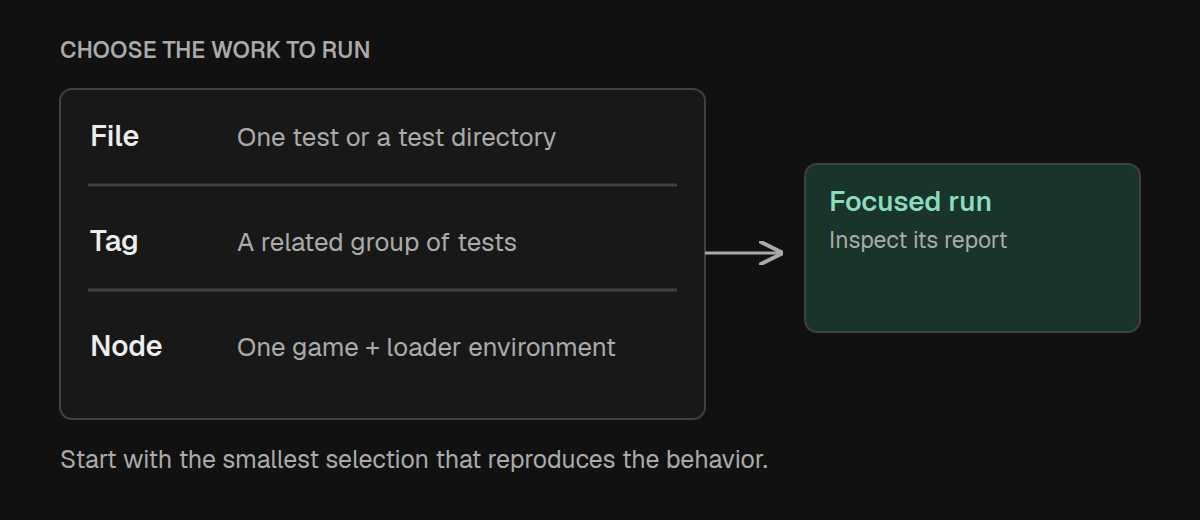
Choose a test and a node
List the available nodes:
./teakitw nodesUse one of the printed names in place of YOUR_NODE. Run one file with either Gradle or the wrapper:
./gradlew teakitRun -Pteakit.node=YOUR_NODE -Pteakit.testFile=test/teakit/inventory.test.ts./teakitw run --node YOUR_NODE --test-file test/teakit/inventory.test.tsrun takes one node and one test file. The file may contain several tests. Use check when you want to select several files or scan a directory:
./teakitw check --node YOUR_NODE --test-dir test/teakit/inventoryWith no file or directory selection, TeaKit scans test/teakit for *.test.ts. check batches the selected files into a suite for each node, so adding a second test file does not require a second game launch on that node.
Select by tag
Give related tests a shared tag such as inventory or menus in their test options. Then run that group:
./teakitw check --node YOUR_NODE --tag inventoryThe Gradle equivalent is -Pteakit.tag=inventory. Repeated wrapper --tag options select tests matching any of those tags; Gradle accepts a comma-separated property.
Use test.only for a temporary local focus, and remove it before sharing the test. A committed focus can hide tests you intended to run.
Check the launch plan
Before debugging a slow or incorrect launch, see exactly what TeaKit intends to start:
./teakitw explain --node YOUR_NODECheck the Gradle task, working directory, and game directory. A game can launch correctly yet remain invisible to TeaKit if the runner is watching the wrong directory.
For a custom layout, override those fields in teakit.toml. Replace the node name with your real Minecraft-and-loader pair:
modId = "examplemod"

[defaults]
launcher = "gradle"
gradleWrapper = "./gradlew"
workingDirectory = "."

[nodes."YOUR_MINECRAFT_VERSION-fabric"]
tasks = [":fabric:runClient"]
gameDirectory = "fabric/run"
Use your project's actual task and run directory. Conventional multiloader layouts are discovered automatically; explicit node settings let you describe a different layout without changing the tests.
The node can also supply gradleProperties, systemProperties, and environment tables. For example, [defaults.gradleProperties] adds shared Gradle -P values. Put settings shared by all nodes under defaults, and overrides under the relevant node.
Expand the run
Check which tests and nodes will be selected before launching them:
./teakitw check --dry-runThen run the discovered matrix:
./gradlew teakitCheckMatrixTo select a smaller matrix, repeat --node with the wrapper or pass comma-separated names through -Pteakit.node. check without a node selection includes all discovered nodes. Nodes run in sequence within one check; use separate jobs when you need parallel runs.
--fail-fast stops after the first failing node. It is useful during local debugging; keep it off when you want to see the full set of failures.
Give slow launches enough time
The launch timeout and a test's timeout answer different questions. The launch timeout gives Minecraft time to start and become ready; the timeout on test(...) limits that test's body.
./teakitw check --node YOUR_NODE --timeout 240Increase a test timeout only when the interaction genuinely needs more time. Prefer waiting for a state change over inserting a long fixed delay.
Use CI and background runs for unattended clients. For two separately running game processes, follow multiplayer testing.